Like many people our over flow from the house has found its
way into our garage and lives in what we call “blue bins.” You know those great
plastic containers that Rubbermaid makes? Yeah well over several moves we have
accumulated “stuff” and these hold the “stuff” great. Sorting through the “stuff”
is on my To Do List … someday! Until then we wanted a neat organized way of
storing these boxes so that on those rare Saturdays when there isn’t much else
to do we could easily pull a box out and sort and begin downsizing.
These great plastic storage bins are a great organizer for
all your keepsakes and seasonal decorations, but what happens when you get more
than 3 of them together? If you’re anything like me they get stacked one on top
of them until you have something that resembles the leaning tower of Pisa! Let’s
face it these containers scream for me to stack them the way they are made!
Inevitably one of two things happens:
1.
The bottom box starts to buckle under the strain
of holding up the rest of the stack or
2.
What I want is in the bottom box and so I have
to move everything to get at that one box.
 |
| Before |
What if it didn’t need to be this way, what if you could
easily access any of your storage boxes at any time without the hassle of
re-stacking? Well this weekend we decided to try and tackle this project by
creating a PVC storage box organizer. After looking online, visiting Lowes, Ace
& Home Depot we came up with an idea (again this started with a Pintrest
Pin!) and modified it to work for what we had and our budget. We did this for
about $70.
 |
| Basic Grid |
Here is what we used:
1 rubber mallet
1 pvc pipe cutter
8 pvc ¾” corners
16 pvc ¾” X pieces
32 pvc ¾” T pieces
9 – 10’ lengths of ¾” pvc (you will have a bit left over, we
are saving it to make another project!)
Here are the cuts we made & how many of each we used:
18” pieces (24)
12” pieces (12)
9” pieces (48)
And this is how we put it together (and by “we” I mean my
darling husband and our two boys – they loved helping on this project!) If you think of it as a front and back grid you are
attaching them together with the 12” pieces. So here is how we made 1 grid (you
will need to make 2 grids)
Here is a grid:
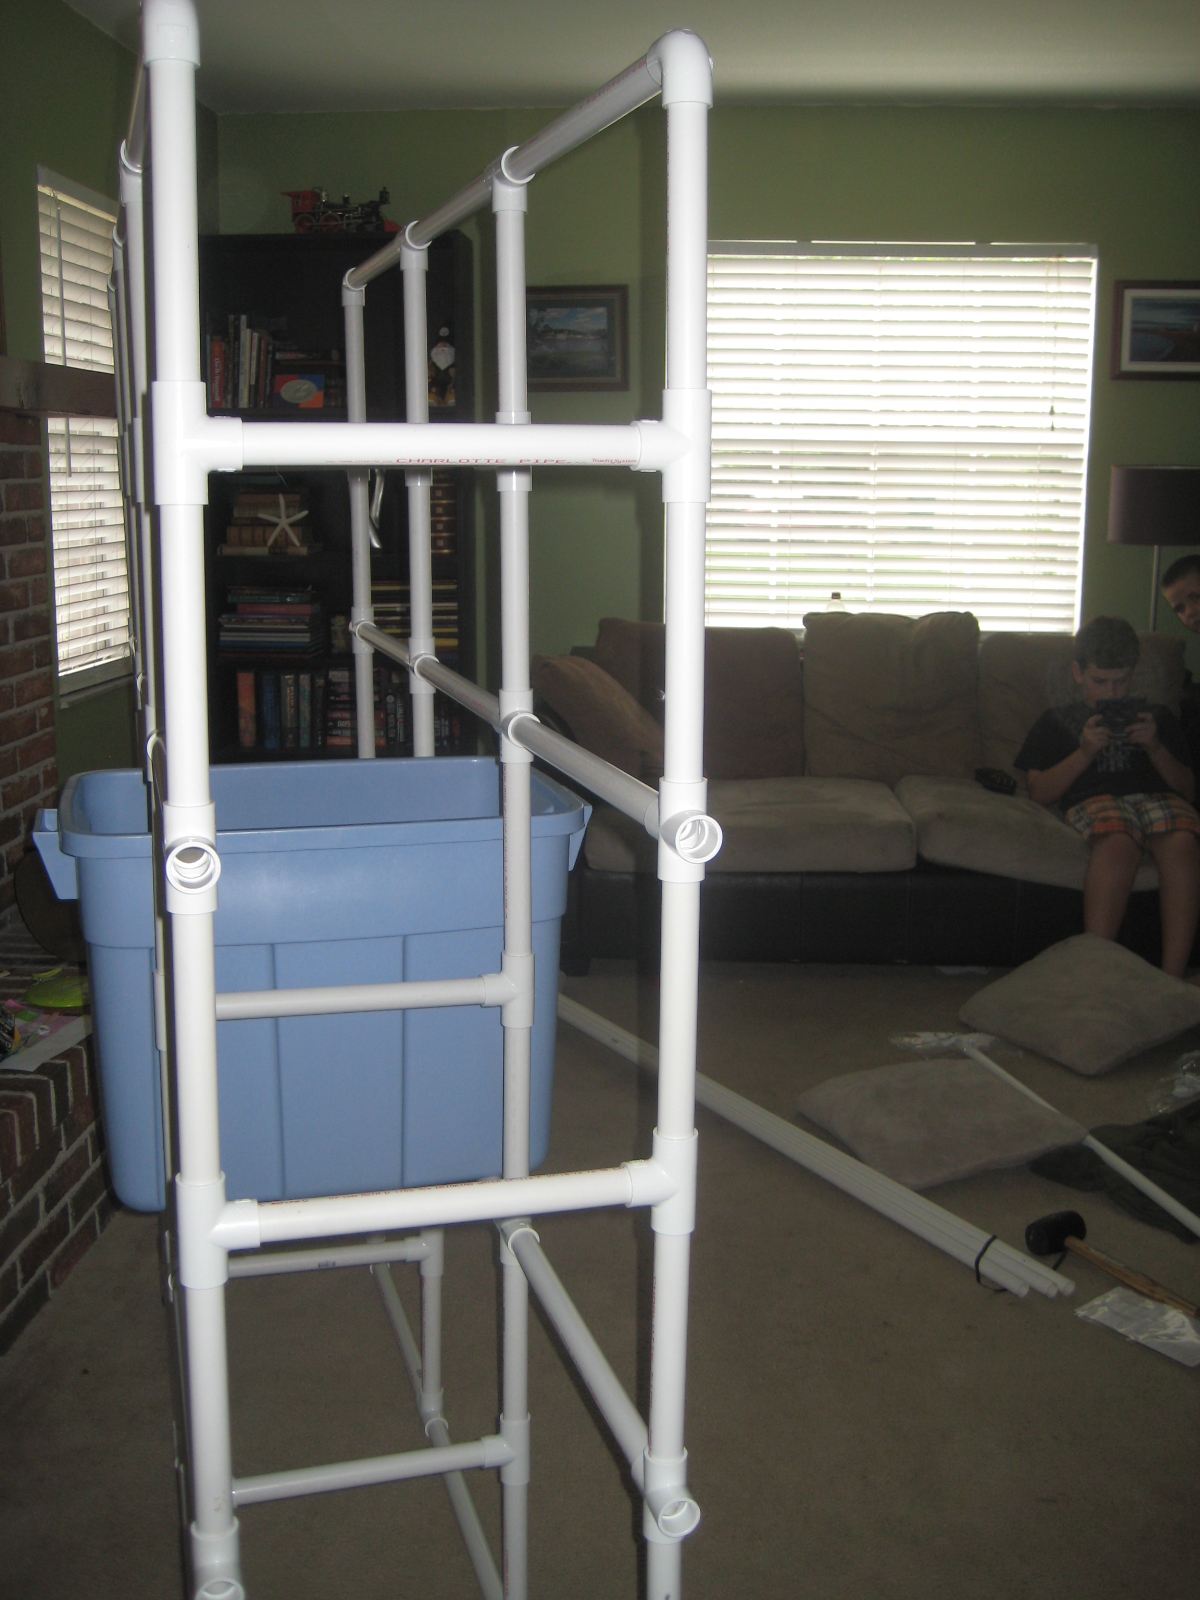 |
| from the side |
Corner + 18” + T + 18” + T + 18” + Corner
9” + T + 9”
X + 18” + X + 18” + X + 18” + X
9” + T + 9”
X + 18” + X + 18” + X + 18” + X
9” + T + 9”
Corner + 18” + T + 18” + T + 18” + Corner
As you look at the picture (right) you can see the 12” pieces are
the cross bars holding the two grids together.
So once they put the cross pieces and used the mallets to
make sure each connection was tight we moved it (again this is the collective “we”
meaning my darling husband J)
into the garage and proceeded to organize what we had already downsized from
the above picture into this tidy, loveliness. Oh, and the great thing is that
you can expand this on either side, I’m already thinking if we did another grid
of 4 on the side and if we put a board across the top the kids could store
their bike helmets here … or whatever. I’m just sayin’ it sparked ideas of expanding
the whole storage unit and it’s barely been in my garage for five minutes! Well
at least it did for …
 |
| After! Easy access to each container - YEAH!! |
This Frugal Momma!


